Tip Up Markers Ice Fishing: A Simple Line-Tracking System
A clear, repeatable marker system makes tip-up lines easier to manage across changing depths and snow conditions. Learn what to mark, how to set it up, and when to revise it.
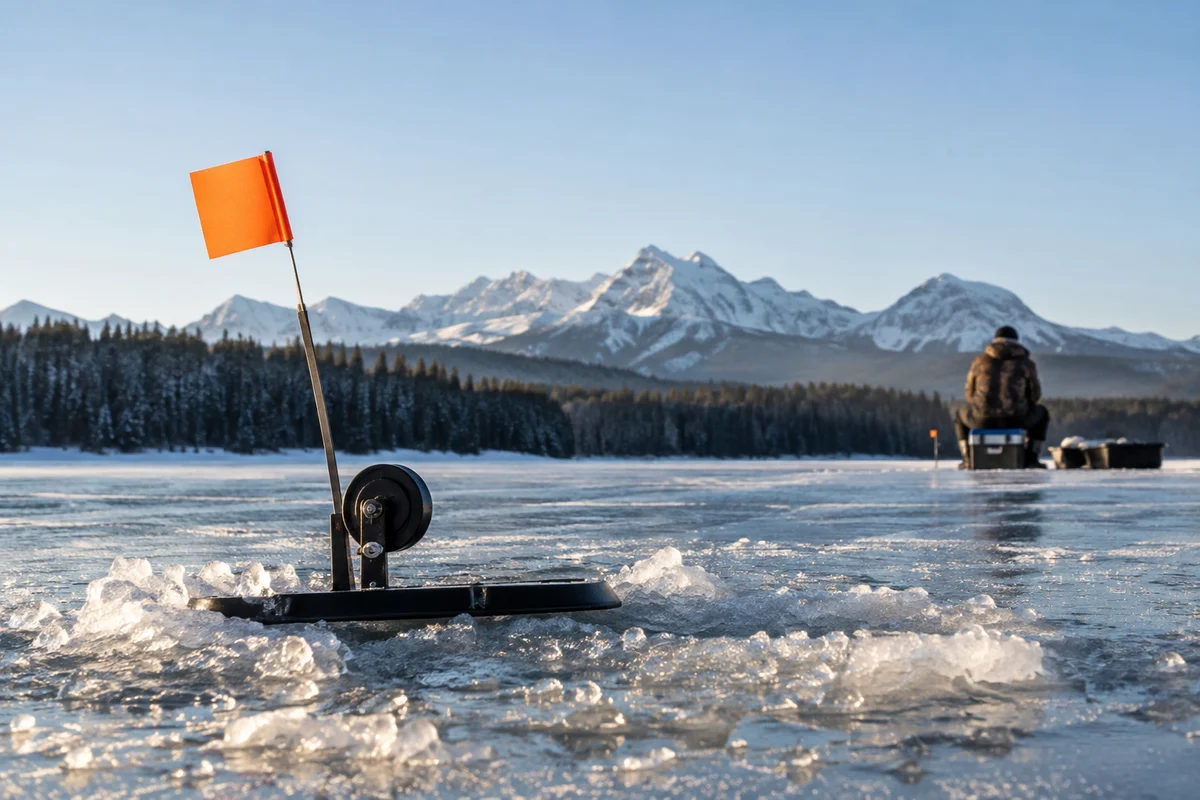
Tip up markers ice fishing anglers use are simple references on the line that show how much line has been released, where a leader begins, or which set belongs to which hole. They are not a substitute for checking a tip-up or watching conditions; their value is reducing guesswork when several rigs are spread across a snowy lake. A consistent marking method helps you return a line to a productive depth, recognize a changing spool, and avoid crossing lines while tending multiple holes.
The best setup is one you can read with cold hands and explain to anyone fishing with you. Before you deploy, decide what each marker means, use a contrasting material that will not damage the line, and keep a written note of the actual depth and bait arrangement. The ice-fishing hub collects related techniques and equipment guidance; for organization between outings, see this practical look at ice-fishing tackle storage.
What should a tip-up line marker tell you?
A marker should communicate one useful fact at a glance. Common choices are the amount of line set below the spool, the transition from main line to leader, or an identification code for a particular tip-up. Marking every few inches or adding many colors can make a system harder to interpret, especially in low light. Keep it simple and write down the meaning before setting lines.
For depth, the important distinction is between line released and water depth. The line may not hang perfectly vertical: wind, current, bait movement, and the angle of the line can all affect the relationship. A mark is therefore a repeatable reference, not a precision depth instrument. If the rig’s true position matters, use a depth finder or another reliable way to measure the water column, then treat the line mark as a field reminder.
For identification, use a different, easy-to-remember combination for each rig, such as one color for a shallow set and two colors for a deeper set. Do not rely on color alone if companions may have difficulty distinguishing colors or if snow and ice obscure it. Pair color with a simple note, numbered spool, or location sketch.
A practical marking system
Choose a marker material made for fishing line or a removable method that will not cut, weaken, or permanently deform the line. Avoid sharp edges, knots that cinch tightly around the line, and adhesives that leave a hard ridge. Before using any material, test it on a short line section and check that it moves or comes off as intended without roughening the line. Follow the line and tip-up manufacturers’ care guidance where available.
| What you need to remember | Simple marker approach | What to record |
|---|---|---|
| Approximate line released | One repeatable marker interval or a small sequence | Number of intervals and measured water depth |
| Main-line-to-leader transition | A distinct marker placed near the connection, not over a knot | Leader length and material |
| Which rig is which | One or two easy-to-recognize color or pattern cues | Hole location and bait presentation |
| A changed or tangled line | Re-mark only after checking the full rig | What changed and why |
Use the table as a framework, not a universal measurement standard. Different spool sizes, line diameters, and marker materials make a single interval unreliable across every setup. Calibrate your own system: measure a known length of line, spool it out under light tension, and note how your chosen marks correspond to that length. Repeat after changing line or spool configuration.
How do you mark and set a line?
Start on shore or at the fishing area with the line and leader laid out safely and clear of foot traffic. Inspect the line for abrasion or damage, then confirm the leader connection is sound. If the leader needs attention, do that before adding markers; a marker should never hide a knot or make a damaged section harder to see.
- Choose a meaning for each marker. Decide whether you are tracking line released, identifying the rig, or locating the leader transition. Keep each cue consistent.
- Calibrate the interval. Measure a known length, release it under similar light tension to your normal setup, and mark the line without pinching it.
- Record the setup. Note the tip-up’s location, water depth, target depth, marker count, and any relevant local rules.
- Deploy and verify. Lower the bait deliberately, confirm the line runs freely, and check that the marker does not catch on the spool, guide, or trigger mechanism.
- Recheck after activity. After a flag, a suspected bite, or a tangle, inspect the line and reset your count rather than assuming the old reference remains valid.
The line should pay out without snagging or resisting the release mechanism. Test the tip-up’s function according to its manual, keeping fingers away from moving parts and never modifying the trigger to make a marker fit. For advice on selecting and organizing cold-weather equipment, the article on ice-fishing tips and coverage offers a related planning perspective.
How can markers prevent tangles across several holes?
Markers are most useful when paired with a simple map. Sketch the shoreline, mark each hole, and assign each tip-up an identifier that matches its line cue. Include approximate depth and the direction of any current or wind. When checking a flag, follow the same route each time and keep loose line separated from neighboring sets.
If two lines cross or a marker appears in an unexpected place, stop and identify which line belongs to which spool before pulling. Do not yank against a suspected snag; that can tighten a crossing or damage line. Clear the lines methodically, inspect for abrasion, and reset the marker count once the rig is back in order. A companion should know the code before helping, rather than having to infer it during a busy moment.
Snow cover can hide line and hole edges, while changing light can make small marks difficult to see. Use high-contrast, durable cues and keep access paths clear. Marking does not replace legally required flags, visual checks, or safe travel practices. Ice conditions can vary over short distances and change quickly; consult local authorities for current conditions and follow their guidance about ice safety.
What are the limits of tip-up line markers?
A marker cannot tell you the exact bait depth if the line is angled, the spool releases unevenly, or the line is moving in current. Nor does it tell you whether a fish is present. Treat it as a memory aid and verify the physical setup whenever you retrieve or reset a rig. A compact log can be more valuable than adding more marks: record conditions, depth, and changes so you can compare one set with another without relying on memory.
Markers also need periodic inspection. Cold, moisture, and repeated handling can loosen a removable cue or make a material brittle. Replace anything that slips, frays line, catches in the mechanism, or becomes hard to distinguish. When changing line, leader, spool, or tip-up, recalibrate rather than assuming the old spacing still applies.
Finally, fishing rules differ by jurisdiction and may specify the number of lines, required identification, unattended gear, or other details. Check the current regulations for the water you are fishing. The U.S. Fish and Wildlife Service provides national conservation and fishing information, while state and provincial agencies are the authoritative source for local rules.
A quick checklist before leaving a set
- Marker meaning is consistent and known to everyone tending the lines.
- Line and leader have been inspected; markers do not cover connections or damage.
- The line pays out freely and markers do not catch on the spool or mechanism.
- Each tip-up is identified on a simple hole map or written note.
- Depth and marker count are recorded as approximate references, not assumed exact measurements.
- Current local regulations and ice-safety guidance have been checked.
A modest, calibrated marker system makes multi-line fishing more organized without pretending to provide precision it cannot. Keep the cues readable, the line in good condition, and the record simple; then revise the setup whenever equipment or conditions change.
Frequently asked questions
Can tip-up line markers measure exact fishing depth?
Not reliably by themselves. They track approximate line released; line angle, current, spool behavior, and bait movement can change the actual depth.
What is safe to use as a marker on tip-up line?
Use a fishing-line-compatible, removable marker that does not pinch, abrade, or catch on the spool or mechanism. Test it and follow the line maker’s care guidance.
How should I mark several tip-ups so lines do not get confused?
Use a simple distinct identifier for each rig and match it to a hole map or written log. Tell companions what the cues mean before they tend the lines.
Sources & further information
Consult these primary sources for current regulations, technical information and local guidance.