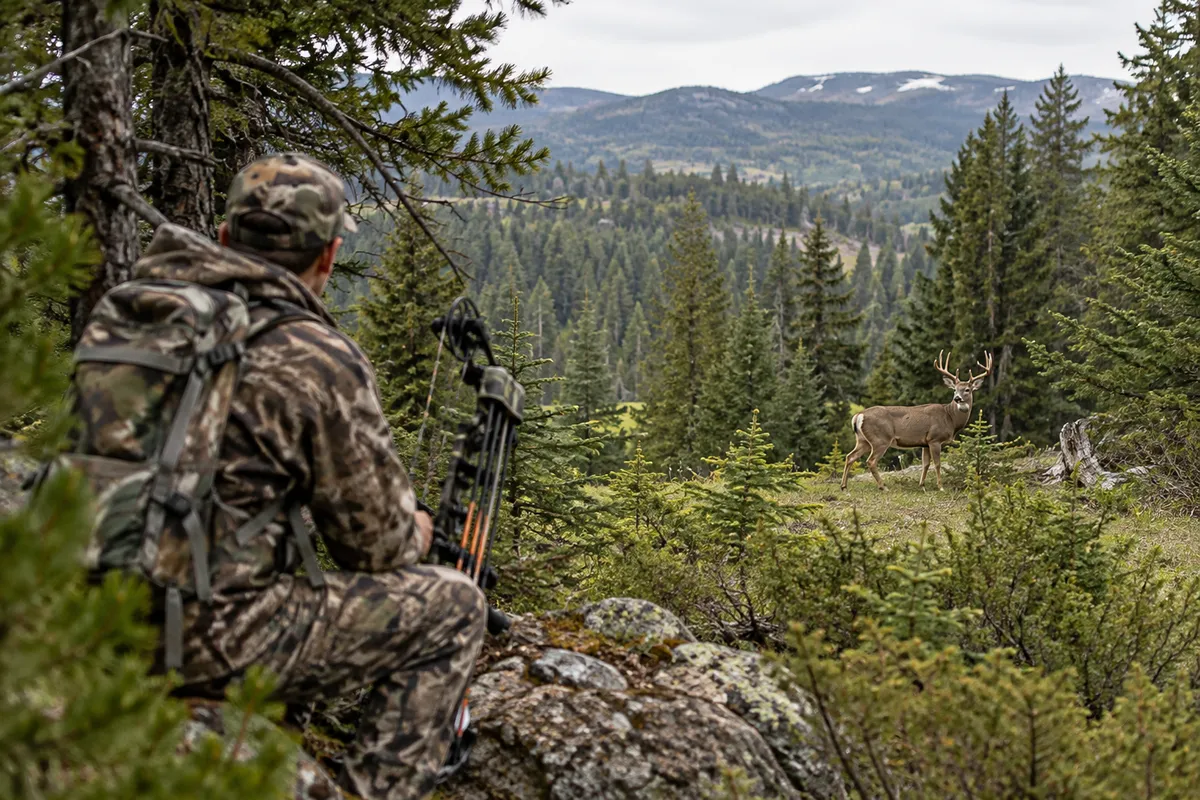
7 Steps to Prep for Deer Season
A steady deer-season preparation plan starts with current regulations and ends with a safe, realistic field routine. Use these seven steps to organize the work without treating any checklist as a substitute for local rules or sound judgment.
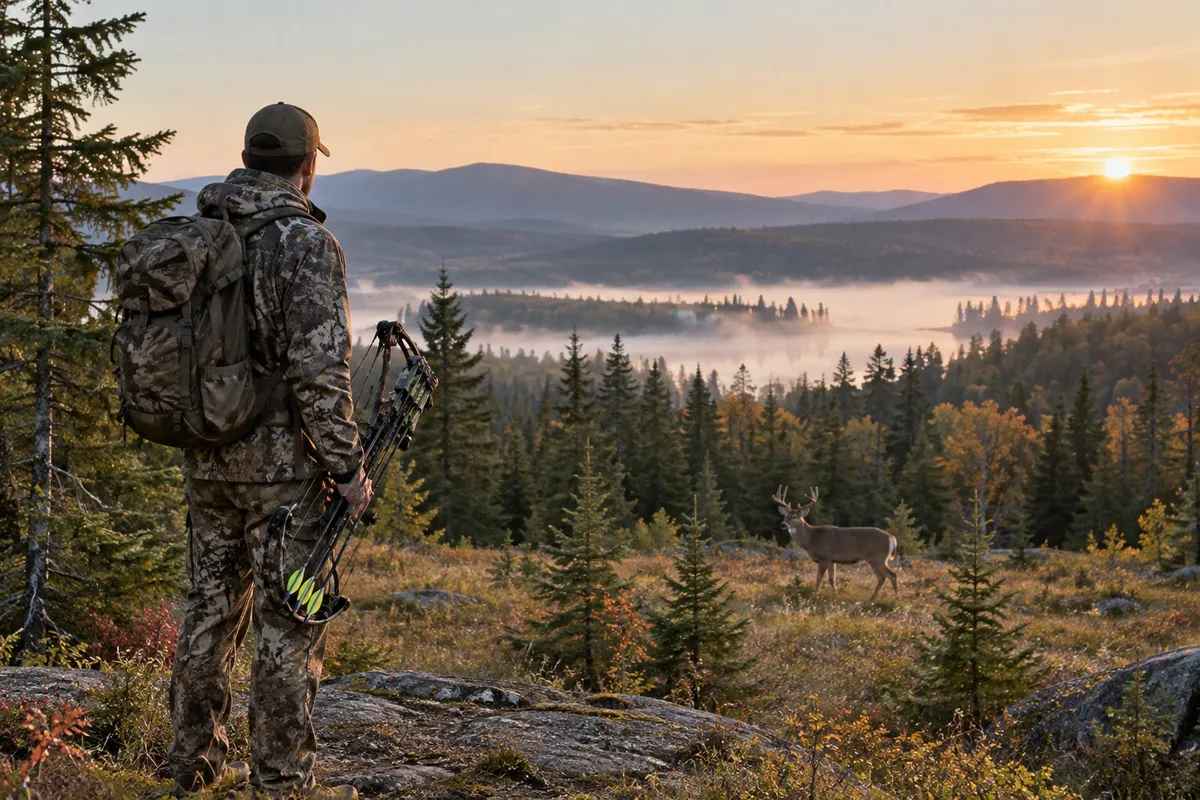
The steps to prep for deer season are most useful when they turn a vague plan into small decisions you can verify: where you may hunt, what conditions to expect, whether your equipment is ready, and how you will handle a successful harvest. Start well before opening day, follow the regulations for the specific place and season, and leave room to change plans when weather or access makes a hunt unsafe.
1. Confirm the season, boundaries, and required permissions
Begin with the wildlife agency responsible for the land you intend to hunt. Read the current regulations rather than relying on last season’s notes or a calendar shared online. Confirm season dates, legal methods, licensing and tags, harvest-reporting rules, and any restrictions on antlered or antlerless deer that apply to that unit or property. Rules can vary within a state and can change from year to year.
Mark property boundaries and access points on a map, then verify them on the ground where practical. Get permission before entering private land, and clarify where you may park, walk, and retrieve a deer. On public land, check for closures, designated access, special permits, and shared-use considerations. Keep required licenses and identification accessible in the form accepted by the agency.
Make a short “must verify” list for anything unclear. Contact the agency or land manager instead of guessing. The deer hunting hub is a place to explore related field and season-planning topics, but official local rules are the authority.
2. Learn the property before choosing a stand
Scouting is more than looking for tracks. Identify likely travel routes, feeding and bedding cover, water, terrain funnels, and places deer can move with concealment. Use maps and observation from a distance to narrow possibilities. Fresh sign can be informative, but a single track or rub does not guarantee regular activity or a safe, legal setup.
Think about wind direction and how your approach may affect the area. Avoid walking through likely bedding cover simply to inspect it. Note where people, roads, homes, livestock, and trails are located; a location that looks promising on a map may not provide a safe background or a lawful shooting direction. If access depends on a narrow route, have an alternate plan for wind or weather changes.
Record observations with dates and conditions, but do not mistake a brief pattern for a promise. Deer movement changes with pressure, food, weather, and the season. A useful plan includes more than one location and a reason for each choice.
3. Inspect and organize equipment early
Lay out clothing, footwear, optics, packs, navigation tools, lights, first-aid supplies, water, and weather protection well ahead of the hunt. Check zippers, straps, batteries, and footwear condition. Replace or repair worn items before they become problems outdoors. Choose layers that suit the expected conditions and allow safe movement; avoid dressing so heavily that you sweat during the walk in and chill while stationary.
Inspect the hunting implement you use according to its manufacturer’s instructions and applicable safety guidance. Confirm that it is in sound condition, that any required accessories are present, and that you know how to transport it legally and safely. Do not wait until opening morning to discover a damaged case, missing component, or unfamiliar control. For a tree stand or elevated platform, follow the manufacturer’s instructions and use an appropriate fall-arrest system; consider whether a ground setup is safer for your experience or conditions.
Pack deliberately rather than adding every possible item. A compact checklist can include a charged phone, offline map, backup light, water, emergency contact information, and a plan for checking in. Keep sharp tools covered and secured. The goal is readiness, not a heavier pack.
4. Practice safely and realistically
Schedule practice with the equipment and positions you expect to use, at a lawful and appropriate range or practice area. Follow range rules and the manufacturer’s instructions. Focus on consistency, safe handling, and knowing your own limits—not on taking a shot at a distance or angle you have not practiced. If your setup, sighting, or confidence is uncertain, seek qualified instruction and postpone hunting until you can use it responsibly.
Practice the whole routine: carrying equipment safely, settling into a stable position, identifying a target clearly, and keeping the direction of travel and background in mind. Never take a shot unless you have positively identified the animal and can account for what lies beyond it. Avoid shooting toward roads, buildings, livestock, other hunters, or any area where a safe background is not assured.
Use practice to expose problems early. If cold hands, fogged optics, unfamiliar clothing, or a noisy pack interferes, address that issue at home or in a controlled setting. Do not try to solve a safety problem in the field under pressure.
5. Plan for weather, access, and communication
Check the forecast close to the hunt and understand how rain, wind, heat, cold, or reduced visibility affects your route and decisions. Establish a turnaround point and a clear reason to cancel. A forecast is not a guarantee, and conditions can change quickly. Avoid crossing unsafe water or traveling on terrain that exceeds your ability.
Tell a reliable person where you plan to go, when you expect to return, and when they should act if you miss a check-in. Share a map pin or written route where possible, while recognizing that a phone may lose service or power. Carry navigation and emergency supplies suited to the location. On unfamiliar land, know the nearest road access and how you will contact help.
Keep the plan flexible. If another hunter is already using an area, visibility is poor, or access becomes unsafe, leave rather than forcing the original plan. A quiet day without a harvest is preferable to a preventable emergency or conflict.
6. Prepare for the work after a harvest
Before hunting, learn the local reporting and tagging process and identify how you will reach a processor or other lawful handling option if needed. Check local requirements for transport, evidence of sex, chronic wasting disease sampling or carcass movement where applicable, and disposal of remains. These rules differ by location, so verify them with the relevant agency.
Think through distance, terrain, temperature, and available help. A deer in a remote or steep location can require substantial effort. Do not attempt a recovery or carry that exceeds your strength, equipment, or conditions. Have a partner or a way to call for assistance, and use safe lifting practices. Keep meat clean and cool as promptly as conditions allow; seek local guidance about handling and processing.
If you are new to field care, learn from a qualified local source before the season rather than improvising after a harvest. For related context, see how deer are aged at check stations. Check stations and procedures vary, so that topic should prompt questions—not replace your agency’s instructions.
7. Set realistic expectations and review the plan
Decide in advance what a responsible opportunity looks like for you, including the conditions in which you will pass. Rules, visibility, distance, animal identification, and a safe background all matter. So do your own skill and comfort. There is no obligation to take a shot simply because an animal appears.
After each outing, note weather, wind, access, observed sign, and what worked or did not. Keep records factual and brief. A lack of sightings can reflect many factors; it does not prove that a property has no deer or that a particular tactic will solve the problem. Revisit why you may not be seeing deer for ideas on interpreting observations without jumping to conclusions.
The best preparation is a repeatable routine: verify the rules, choose a safe location, check equipment, practice within your ability, communicate your plan, and know what comes after the hunt. Adjust that routine to the land and conditions in front of you. Preparation can make a season more organized, but it cannot guarantee sightings or a harvest—and it should never override safety or legal requirements.
Frequently asked questions
When should I start preparing for deer season?
Start early enough to confirm current local regulations, obtain any required permissions, scout without disturbing the area, inspect equipment, and practice safely before the season. Check rules again close to the hunt in case details have changed.
What should I check before heading out to hunt?
Verify the date, legal method, license and tag requirements, access permission, weather, route, and reporting rules. Tell someone your plan and return time, carry suitable navigation and emergency supplies, and confirm that your equipment is in safe condition.
Does scouting guarantee deer will be present on opening day?
No. Tracks, trails, and other sign show activity at a particular time, not a guarantee of future movement. Conditions, pressure, food, and weather can change deer behavior, so keep alternate locations and make decisions based on current conditions.
Sources & further information
Consult these primary sources for current regulations, technical information and local guidance.