Cannon Downriggers: How to Choose and Use Them
A downrigger can make a trolling presentation more repeatable, but the right setup depends on your boat, target depth and fishing conditions. Here’s a practical guide to evaluating Cannon downriggers without relying on unverified product claims.
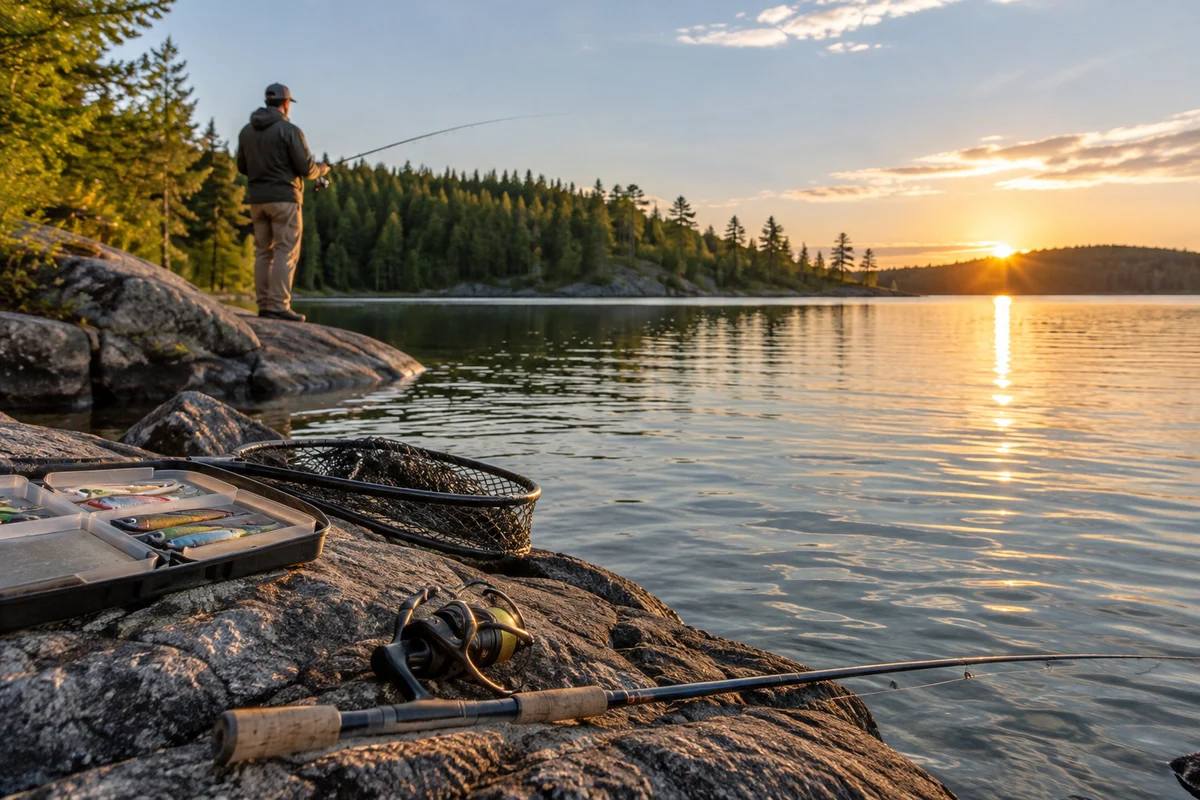
Cannon downriggers can help anglers present a lure at a more consistent depth while trolling, but choosing one is not simply a matter of picking the most elaborate model. Boat layout, target species, fishing conditions and the way you prefer to control your spread all matter. Because product features can change, confirm current specifications with Cannon before making a decision; the fundamentals of fit, rigging and safe use are more durable than any particular feature list.
A downrigger uses a weighted line to carry a fishing line down through the water column. A release holds the fishing line near the weight until a fish strikes or the angler releases it. The system can make depth control more repeatable than trolling with line alone, though currents, boat speed, line angle and lure behavior mean the lure’s actual depth is not always identical to the weight’s depth.
What a downrigger does—and what it does not
A downrigger is a tool for controlling presentation depth, not a depth finder or a guarantee that a lure will pass directly through a fish. The weight travels below the boat on a cable or line, while the fishing line trails behind from a release. When a fish takes the lure, the release separates the fishing line from the downrigger weight so the angler can fight the fish on the rod.
This separation is useful when fish are holding below the surface and ordinary trolling line would require a long, difficult-to-repeat amount of line. It also makes it easier to return a presentation to a productive depth after a turn or a fish strike. Still, the lure trails behind the weight, and water pressure pushes the cable back as the boat moves. The deeper or faster the presentation, the more important that angle can become.
Use sonar, local knowledge and careful observation together. A depth setting is a starting point, not proof of where the lure is swimming. For general freshwater technique and related gear discussions, explore more freshwater fishing coverage.
How to evaluate Cannon downriggers for your boat
Start with the boat, not the feature checklist. A compact fishing boat with limited mounting space has different needs from a larger boat that trolls frequently and carries several anglers. Measure the intended mounting area and consider whether the handle, boom and cable path can operate without interfering with seats, railings, motors or other equipment.
Think through these questions before comparing models:
- How often will you troll? Regular use can make convenient controls and easy access more valuable; occasional trips may favor a simpler arrangement.
- Where can the unit be mounted? Choose a location that keeps the equipment secure and gives the operator room to work without creating a trip or snag hazard.
- How many presentations will you manage? More lines add complexity. Consider your ability to monitor rods, releases and boat traffic rather than assuming more equipment automatically means better fishing.
- What depth and conditions are typical? The required weight and system capacity depend on the fishing situation. Consult the manufacturer’s current documentation and stay within its stated limits.
- Who will operate it? Controls should be understandable to the people aboard. Review the manual together before the first outing.
Cannon product names and specifications may vary by model and over time. Verify details such as mounting requirements, cable capacity, controls and compatibility directly with the manufacturer rather than relying on an old listing or a model name alone.
Mounting and setup: make the working area predictable
A secure mount is essential. Follow the manufacturer’s installation instructions for the specific unit and boat, including any requirements for backing, fasteners or mounting plates. If you are unsure whether a surface can support the equipment under use, ask a qualified marine professional. Do not improvise a mount based only on appearance.
Before launching, check that the cable or line is properly spooled and routed, the weight is attached as directed, and the fishing-line release is in good condition. Keep hands, clothing and loose gear clear of moving parts. Avoid operating the system while attention is needed for navigation or other immediate hazards; the person at the controls should be able to monitor both the equipment and the surroundings.
Plan where rods will sit and where a hooked fish can be brought aboard. Lines can cross during turns, when a fish changes direction, or when boat speed changes. Begin with a manageable spread and learn how the setup behaves before adding more lines. For a wider look at boat-control equipment, see this discussion of the C-Monster control system; it addresses a different category of gear, but illustrates why controls and installation should be considered as part of the whole boat.
Depth, speed and line angle
The downrigger weight’s displayed or estimated depth does not necessarily equal the lure’s depth. Water resistance pushes the cable and fishing line backward, creating a blowback angle. Current can add another difference between the boat’s movement and the water moving around the gear. A heavier weight may reduce some blowback in particular conditions, but it also adds load and handling demands. Use only weights and configurations allowed by the manufacturer.
Treat depth readings as repeatable reference points. If fish appear at a certain depth, note the downrigger setting, boat speed, direction and conditions, then adjust one variable at a time. This approach helps distinguish a useful pattern from a lucky pass. A turn changes speed and line geometry, so watch for crossed lines and do not assume every presentation remains at the same depth through the maneuver.
Lure choice matters too. A lure’s action may change with speed, line length and the distance it trails behind the release. Check its action near the boat before sending it down when practical, and follow any lure-specific guidance. If fish are not responding, consider a modest depth or speed adjustment rather than repeatedly changing several parts of the spread at once.
Releases, rods and fish handling
The release should hold the fishing line during trolling but separate appropriately when a fish strikes or the angler takes up the rod. Release tension and placement influence how the rod loads and how a strike feels. Start with the manufacturer’s guidance and make careful adjustments for the line and presentation you are using. There is no universal setting that fits every lure, rod and fishing situation.
Keep rods secured in suitable holders and make sure the crew knows which line is connected to which downrigger. When a fish is hooked, communicate before moving rods or clearing lines. A calm, agreed sequence reduces tangles and keeps attention on the fish and boat. Follow local fishing rules on the number of lines, seasons, species and areas; regulations differ by jurisdiction and can change.
Organizing terminal tackle can also make a multi-rod day less chaotic. These spinnerbait storage ideas focus on keeping lures orderly between uses, a useful habit for any angler managing several presentations.
Maintenance and common mistakes
After use, inspect the cable or line for wear, kinks, corrosion or damage, and examine connections and releases for signs of fatigue. Clean and store the equipment as directed by Cannon’s current manual. Saltwater use generally calls for particular attention to rinsing and corrosion prevention, but the manufacturer’s instructions for the model should take precedence over generic routines.
Common mistakes include mounting where the boom obstructs movement, deploying more lines than the crew can safely manage, assuming the weight marks the lure’s exact depth, and ignoring cable condition. Another is making several changes at once: if depth, speed, lure and release tension all change together, it becomes difficult to learn what helped. Keep brief notes about conditions and settings, and revisit them as a starting point—not as a promise that the same setup will work every day.
A practical decision checklist
Before choosing among Cannon downriggers, confirm the exact model’s specifications, mounting needs and operating instructions with the manufacturer. Match the system to your boat and typical fishing, leave enough room to work safely, and consider how the crew will manage rods and lines. During use, monitor depth as an estimate, account for line angle and conditions, and stay within the equipment’s limits.
A well-matched downrigger can make trolling more controlled and repeatable. It works best when treated as one part of a complete approach that includes safe boat handling, suitable tackle, local regulations and attention to changing water conditions.
Frequently asked questions
Do Cannon downriggers put a lure at the exact depth shown?
Not necessarily. The weight and cable can angle backward under water resistance, and the lure trails behind the weight. Treat the setting as a reference and account for speed, current and line angle.
What should I check before selecting a Cannon downrigger?
Check the boat’s mounting space, the model’s current specifications and installation requirements, the depths and conditions you typically fish, and whether the crew can safely manage the intended number of lines. Confirm model-specific details with Cannon.
How should I maintain a downrigger cable?
Inspect it regularly for wear, kinks, corrosion or other damage, and clean and store the system according to the current manufacturer instructions. Replace damaged components as directed rather than continuing to use them.
Sources & further information
Consult these primary sources for current regulations, technical information and local guidance.